> For the complete documentation index, see [llms.txt](https://docs.vdo.ninja/llms.txt). Markdown versions of documentation pages are available by appending `.md` to page URLs; this page is available as [Markdown](https://docs.vdo.ninja/guides/active-speaker-highlight-and-talking-indicators.md).
# Active speaker, Highlight, and talking indicators
Use active-speaker switching, Highlight, fixed solo sources, and talking indicators for live VDO.Ninja productions.
This guide explains the common ways to feature the current speaker, manually highlight a guest, keep other guests visible in OBS, and show a green talking indicator around people who are speaking.
## Quick choice
| Goal | Best option |
| ------------------------------------------------------------------------- | --------------------------------------------------------------------------------- |
| Automatically show only the current speaker | Use `&activespeaker=1` or `&activespeaker=3` on a scene/view link |
| Automatically show all current speakers | Use `&activespeaker=2` or `&activespeaker=4` |
| Automatically make the current speaker larger while others remain visible | Use `&activehighlight=2` or `&activespeakerfeatured` |
| Manually feature one guest from the director room | Use the director Highlight / Featured control |
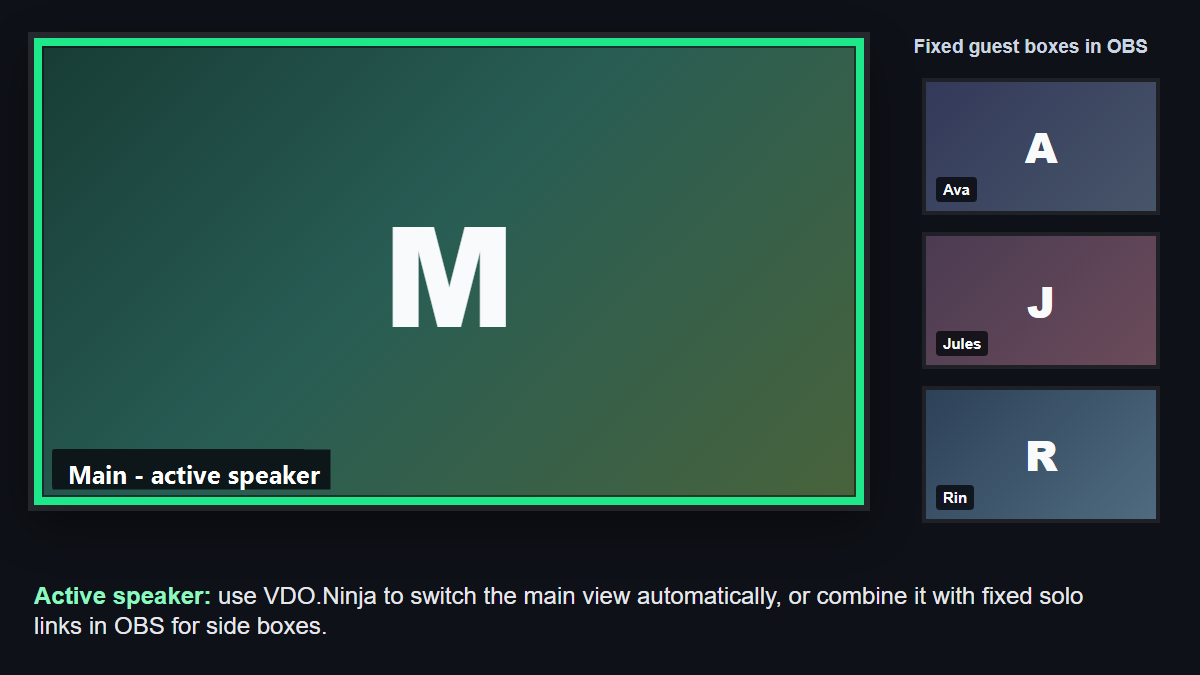
| Build a fully custom OBS layout with fixed guest boxes | Use a large `&activespeaker` browser source plus separate `&solo` sources in OBS |
| Add a green border or dot when guests talk | Use `&meterstyle=2`, `&meterstyle=3`, or `&meterstyle=4` with CSS |
| Feature social chat messages | Use Social Stream Ninja; this is separate from VDO.Ninja guest video highlighting |
## Automatic active speaker
Add `&activespeaker`, `&speakerview`, or `&sas` to a viewer, room, or scene link.
```
https://vdo.ninja/?room=ROOMNAME&scene=0&activespeaker=3&cleanoutput
```
Modes:
| Mode | Behavior |
| ------------------ | -------------------------------------------------------------- |
| `&activespeaker=1` | Shows one speaker at a time, including audio-only sources |
| `&activespeaker=2` | Shows everyone currently talking, including audio-only sources |
| `&activespeaker=3` | Shows one speaker at a time, but only video sources |
| `&activespeaker=4` | Shows everyone currently talking, but only video sources |
Use `3` or `4` for most OBS scene layouts, since audio-only guests will not replace the video layout.
You can slow down one-speaker switching with `&activespeakerdelay`, `&speakerviewdelay`, or `&sasdelay`. This applies to modes `1` and `3`.
```
https://vdo.ninja/?room=ROOMNAME&scene=0&activespeaker=3&activespeakerdelay=1200
```
The delay is in milliseconds. This helps prevent rapid switching when people briefly interrupt or laugh.
{% content-ref url="/pages/-MZHeaXqdR9WQuzFCjZc" %}
[\&activespeaker](/advanced-settings/mixer-scene-parameters/activespeaker.md)
{% endcontent-ref %}
{% content-ref url="/pages/C3wiMCwjXsgCwbWDJQUr" %}
[\&activespeakerdelay](/advanced-settings/mixer-scene-parameters/and-activespeakerdelay.md)
{% endcontent-ref %}
## Automatic active speaker Highlight
Use `&activehighlight=2` when you want VDO.Ninja to keep everyone in the scene, but automatically make the current speaker larger using the secondary Highlight / Featured layout.
```
https://vdo.ninja/?room=ROOMNAME&scene=0&activehighlight=2&cleanoutput
```
`&activespeakerfeatured` is an alias for the same mode.
```
https://vdo.ninja/?room=ROOMNAME&scene=0&activespeakerfeatured&cleanoutput
```
Options:
| Mode | Behavior |
| ------------------------ | -------------------------------------------------------------------------------------------------------------------- |
| `&activehighlight=2` | Uses the secondary Highlight / Featured mode, so the active speaker becomes larger while other guests remain visible |
| `&activespeakerfeatured` | Alias for `&activehighlight=2` |
| `&activehighlight=1` | Uses normal Highlight, which is closer to a full speaker focus mode |
By itself, `&activehighlight=2` does not enable `&activespeaker`, so it does not hide non-speaking guests. If you combine it with `&activespeaker`, the normal active-speaker hide/show behavior still applies.
You can also add `&activespeakerdelay` if speaker changes are happening too quickly.
This link still needs to receive and process guest audio, so do not add `&noaudio` or `&noap` to the same scene/view link. By default, it follows video-capable speakers, similar to `&activespeaker=3`, so audio-only sources do not take over the Featured layout.
{% content-ref url="/pages/WoXGdP5Hq3dYg1JQ9oR0" %}
[\&activehighlight](/advanced-settings/mixer-scene-parameters/activehighlight.md)
{% endcontent-ref %}
## Large speaker plus smaller guests in OBS
If you need exact positioning, crops, borders, or per-guest filters in OBS, use a hybrid OBS layout:
1. Add one large OBS Browser Source for the automatic speaker view.
2. Add each guest as a separate smaller OBS Browser Source using their solo link.
3. Add `&noaudio` to the smaller solo sources so audio is not duplicated.
Large automatic speaker source:
```
https://vdo.ninja/?room=ROOMNAME&scene=0&activespeaker=3&cleanoutput
```
Fixed side guest source:
```
https://vdo.ninja/?view=GUESTID&room=ROOMNAME&solo&cleanoutput&noaudio
```
Replace `GUESTID` with the guest's stream ID. Permanent guest IDs make this easier to maintain between shows.
Do not add `&noaudio` to the active-speaker source, since the automatic switching needs incoming audio levels. If the active-speaker source should not be heard in your final mix, mute that OBS source or route audio elsewhere in OBS instead.
Mocked example: a large active-speaker source with fixed solo sources in OBS.
{% content-ref url="/pages/C3Rjc1ablPEGKifNC2Y1" %}
[Active speaker layouts in OBS](/guides/active-speaker-layouts-in-obs.md)
{% endcontent-ref %}
{% content-ref url="/pages/0B2hIACeLpYnQexPND6Z" %}
[\&solo](/advanced-settings/mixer-scene-parameters/and-solo.md)
{% endcontent-ref %}
## Manual Highlight / Featured guest
From the director room, use the Highlight / Featured control on a guest to make that guest the featured video in scene outputs and connected room views that follow Highlight.
This is useful when the producer knows who should be on screen, such as a host, presenter, guest answer, or screen reader.
Tips:
* Use a normal scene link for the OBS program source:
```
https://vdo.ninja/?room=ROOMNAME&scene=0&cleanoutput
```
* Click Highlight / Featured in the director control room to feature a guest.
* Hold `Ctrl` on Windows/Linux or `Cmd` on macOS while using Highlight for the partial featured mode in supported layouts, where the guest becomes larger instead of fully replacing the layout.
* Add `&ignorehighlight` to a viewer or scene link if that link should not follow director Highlight changes.
## Mute follows Highlight
If you want the highlighted guest to be the only unmuted guest, add `&highlightmute` to the director link.
```
https://vdo.ninja/?director=ROOMNAME&highlightmute
```
Aliases:
* `&hmute`
* `&mutefollowhighlight`
* `&mfh`
This is intended for producer-controlled panels where the highlighted person should be the only active on-air microphone. Manual mute changes are still possible, but the rule applies again the next time Highlight changes.
{% content-ref url="/pages/XdHazgMGdrbggiYIJscB" %}
[\&highlightmute](/advanced-settings/director-parameters/and-highlightmute.md)
{% endcontent-ref %}
## Green border or talking dot
Use `&meterstyle` when you want visible feedback that someone is talking.
```
https://vdo.ninja/?room=ROOMNAME&scene=0&meterstyle=2&cleanoutput
```
Common modes:
| Mode | Behavior |
| --------------- | -------------------------------------------------------------------------------------- |
| `&meterstyle=1` | Shows a VU-style meter |
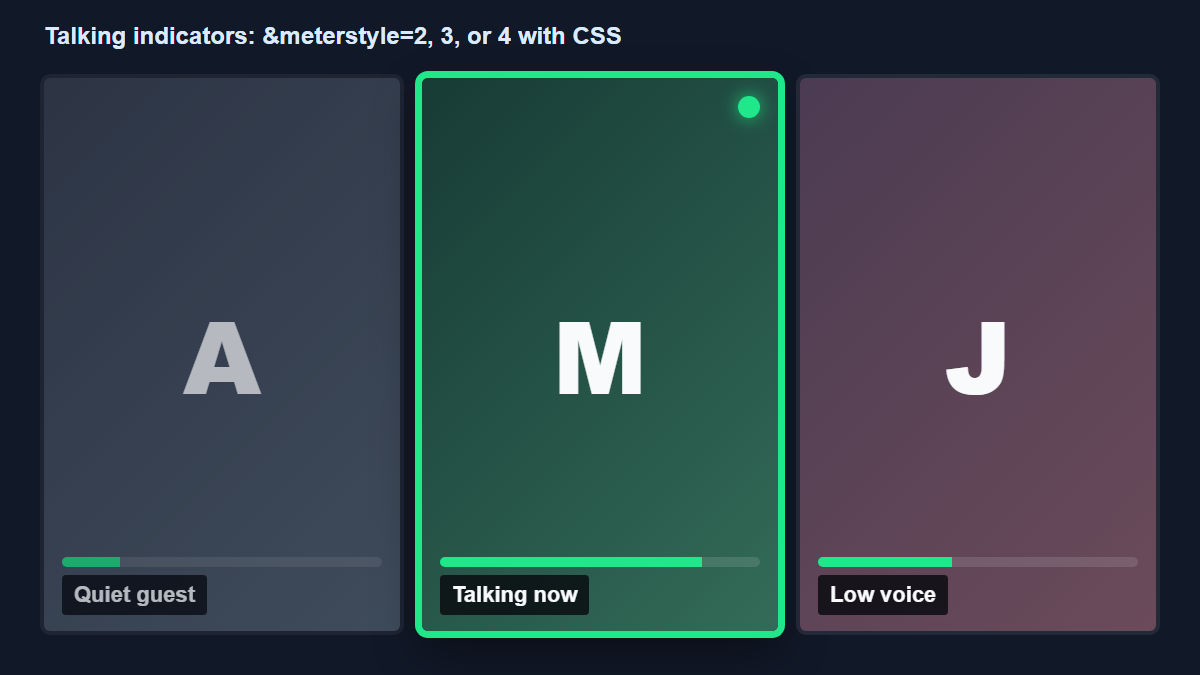
| `&meterstyle=2` | Shows a green border around a talking guest |
| `&meterstyle=3` | Shows a small green dot when a guest is talking |
| `&meterstyle=4` | Hides the built-in meter and adds `data-loudness` / `data-speaking` attributes for CSS |
| `&meterstyle=5` | Pulses an audio-only avatar/background image while speaking |
Mocked example: a green talking border, dot, and meter-style loudness feedback.
For custom CSS, `data-speaking` is usually easier than raw `data-loudness`.
```css
video[data-speaking="2"] {
outline: 6px solid #00ff66;
outline-offset: -6px;
}
video[data-speaking="1"] {
outline: 3px solid #99ffbb;
outline-offset: -3px;
}
```
`data-speaking="0"` means quiet, `1` means low-level speaking, and `2` means loud speaking.
{% content-ref url="/pages/-MZN\_8Vi5yo7zBDLWI-U" %}
[\&meterstyle](/advanced-settings/design-parameters/meterstyle.md)
{% endcontent-ref %}
## API-driven switching
For most active-speaker Featured layouts, use `&activehighlight=2`. Use the API/loudness path only when you need custom rules, custom layout objects, or external production controls.
Available building blocks:
* `getLoudness` or `&pushloudness` can report guest loudness to a parent page.
* The `layout` API can apply a custom layout object or switch predefined layouts.
* The `soloVideo` / `highlight` API command can toggle Highlight for a guest.
This is flexible, but it is more work than the built-in `&activehighlight=2` mode. It usually requires a parent page, Stream Deck / Companion workflow, or custom script to decide who is loudest and then update the layout.
{% content-ref url="/pages/ffAYMCMlMio4qiqqdJhS" %}
[IFRAME API Basics](/guides/iframe-api-documentation/iframe-api-basics.md)
{% endcontent-ref %}
{% content-ref url="/pages/PXjivO1rOxoewycX9ieZ" %}
[\&layouts](/advanced-settings/director-parameters/and-layouts.md)
{% endcontent-ref %}
## Featured chat messages are separate
Featured social chat messages are handled by Social Stream Ninja, not by `&activespeaker` or the director Highlight video controls.
Use Social Stream Ninja when you want to select YouTube, Twitch, or other social chat messages and show them as an OBS overlay.
{% content-ref url="/pages/2pGU9TxBaXEy72kvDG33" %}
[Social Stream Ninja](/steves-helper-apps/social-stream-ninja.md)
{% endcontent-ref %}
## Common issues
If active speaker never switches:
* Make sure the scene/view link is receiving audio.
* Do not add `&noap`; audio processing is needed for loudness-based features.
* Try `&meterstyle=2` first to confirm VDO.Ninja can detect who is talking.
* Use `&activespeaker=3` if audio-only sources are unexpectedly taking over the scene.
If the layout is switching too quickly:
* Add `&activespeakerdelay=1000` to `&activespeakerdelay=2000`.
* Use manual Highlight when the producer needs deterministic control.
If you need the exact "current speaker large, everyone else still visible, all inside one VDO.Ninja scene link" behavior:
* Use `&activehighlight=2` or `&activespeakerfeatured`.
* Use the OBS hybrid method only when you need custom per-source positioning or filters.
---
# Agent Instructions
This documentation is published with GitBook. GitBook is the documentation platform designed so that both humans and AI agents can read, navigate, and reason over technical content effectively. Learn more at gitbook.com.
## Querying This Documentation
If you need additional information that is not directly available in this page, you can query the documentation by asking a question.
Perform an HTTP GET request on the following URL with the `ask` and `goal` query parameters:
```
GET https://docs.vdo.ninja/guides/active-speaker-highlight-and-talking-indicators.md?ask=&goal=
```
`ask` is the immediate question: it should be specific, self-contained, and written in natural language.
`goal` is what the user is ultimately trying to achieve, the reason they need the answer. Sharing it helps GitBook give you a better, more relevant answer. A goal is most helpful when it describes the outcome the user wants rather than restating the question. For example, with `ask=how do I create an API token`, a goal like `automate deployments from our CI pipeline` lets GitBook tailor the answer to that use case.
The response will contain a direct answer to the question and relevant excerpts and sources from the documentation.
Use this mechanism when the answer is not explicitly present in the current page, you need clarification or additional context, or you want to retrieve related documentation sections.